top of page

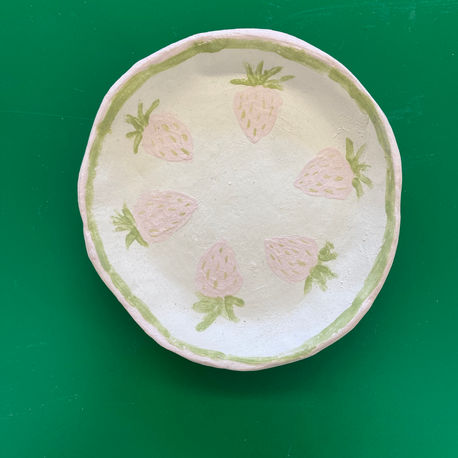
Useful slab decorated with under-glaze.
Finished Piece + Firing Ticket:
Construction Process:
I wedged clay, and flattened out a slab. I slightly curled the edges of the slab up. I waited for it to become bone dry, and painted pick strawberries. I had it fired, then painted red strawberries over the pink ones, and added a pink background. Then I glazed it and had it fired again.
Reflection:
What went well: I like the final colors I chose. The strawberries turned out really good.
What I would do different: If I tried this project again, I would choose the colors I wanted before hand so I wouldn't need to paint over anything. I would add more layers of under-glaze so that I wouldn't be able to see the things I painted over, or the white of the clay. I would add one more layer of glaze so the strawberries wouldn't be to textured.

Useful slab decorated with under-glaze.
Progress photo:

Useful slab decorated with under-glaze.
Planning:

Face sculpture.
Finished piece + firing ticket:
Construction Process:
I wedged a big ball of clay. Next, I molded the shape of the face and craved out holes for its eyes. I rolled the eyes out, added them into the sockets, and added the eye lids over them to keep the eye balls in place. Then I scored and slipped to add the nose, cheekbones, and bones above the eyes. I cut a hole for the mouth and dug out the extra clay in the back of the head. I had it fired once, then glazed the whole thing dark purple, and had it fired again.
Reflection:
What went well: The face looks nice and creepy. I like the way I made it look with sunken cheeks.
What I would do different: I would carve/paint more details into the face, things like eye pupils. I wouldn't pain the face that dark of a color. I would smooth out the edges on the bottom.

Face.
Progress photo:

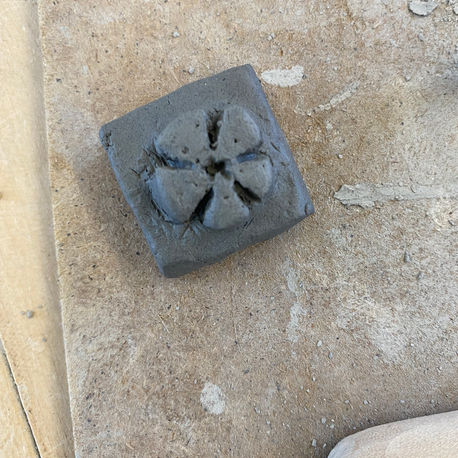
Stamp.
Finished piece + firing ticket:
Construction Process:
I wedged a small piece of clay, then rolled it into a ball. I flattened the ball into a cube, then outlined the shape of the flower. I used a needle tool to carve away the extra clay. Then I had it fired once, glazed it with clear glaze, and fired it again.
Reflection:
What went well: I like the concept of the flower. It turned out pretty, and what I wanted it to look like.
What I were to do different: I would make the lines on the stamp clearer. I would smooth out the stamp so there is no sharp edges. I would make the stamp slightly bigger so the details of the flower could be better seen.

Stamp.
Progress photo:

Stamp.
Planning:
bottom of page